The Crew Map
You built the perfect plan. Airtight logic, solid data, a recommendation so clean it practically glowed. Then you walked it into the room — and it died on contact with other humans.
Part 1: The Crew Map — Concept
+5 XP on completion

You built the perfect plan. Airtight logic, solid data, a recommendation so clean it practically glowed. Then you walked it into the room — and it died on contact with other humans.
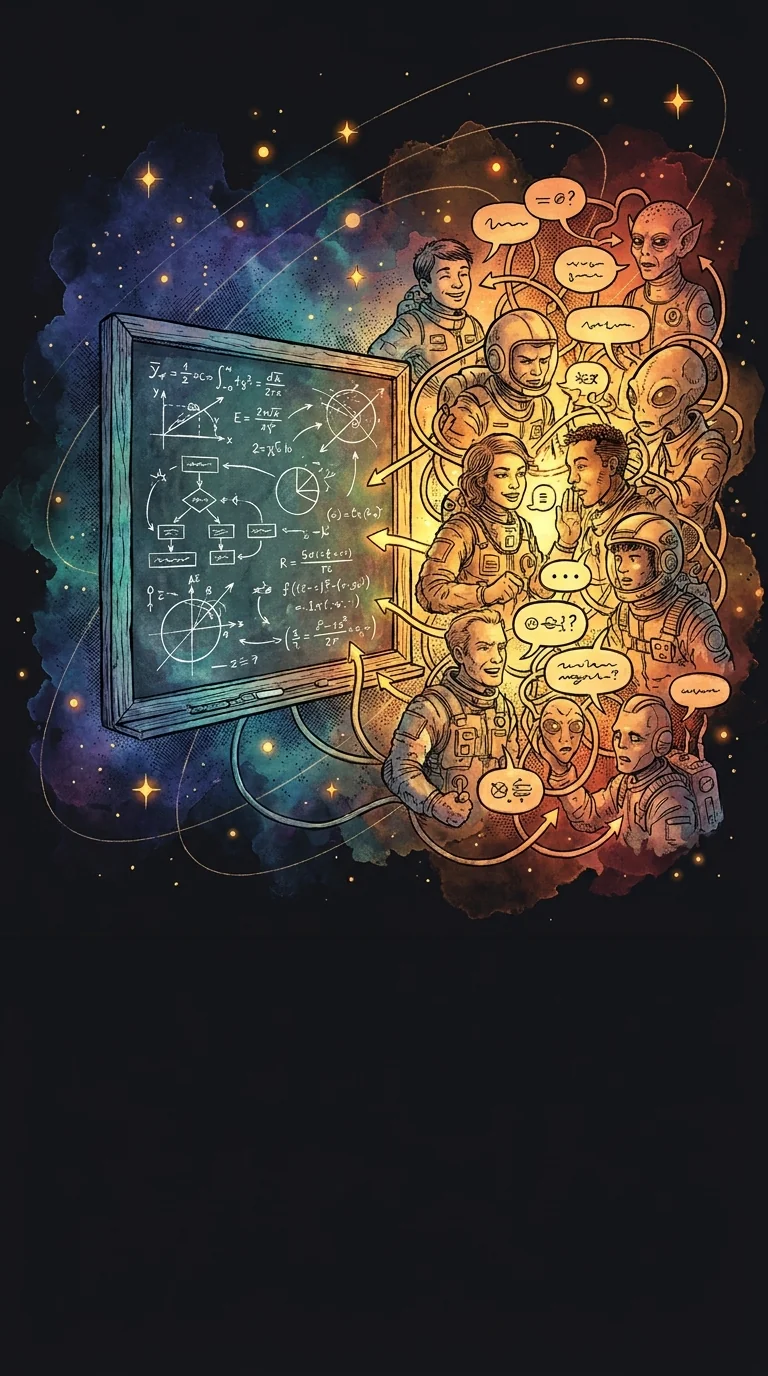
We treat decisions like math problems — solve for X, present the answer, wait for applause. But decisions live inside organizations, and organizations are made of people with agendas, histories, and that one guy who's still mad about the budget meeting in March.
The insight nobody puts on the slide deck: a good decision without social support is just a nice opinion. Your analysis gets you to the answer — your crew map gets the answer into reality.
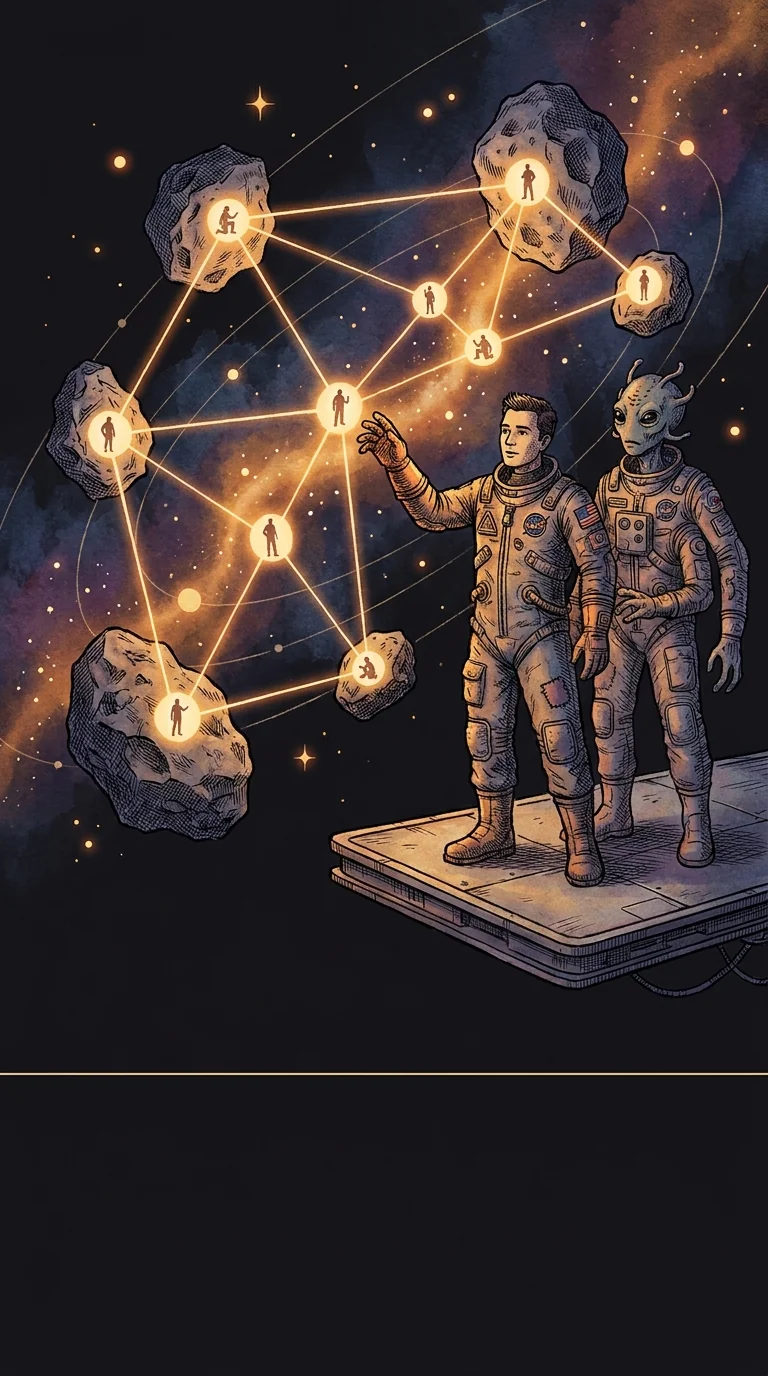
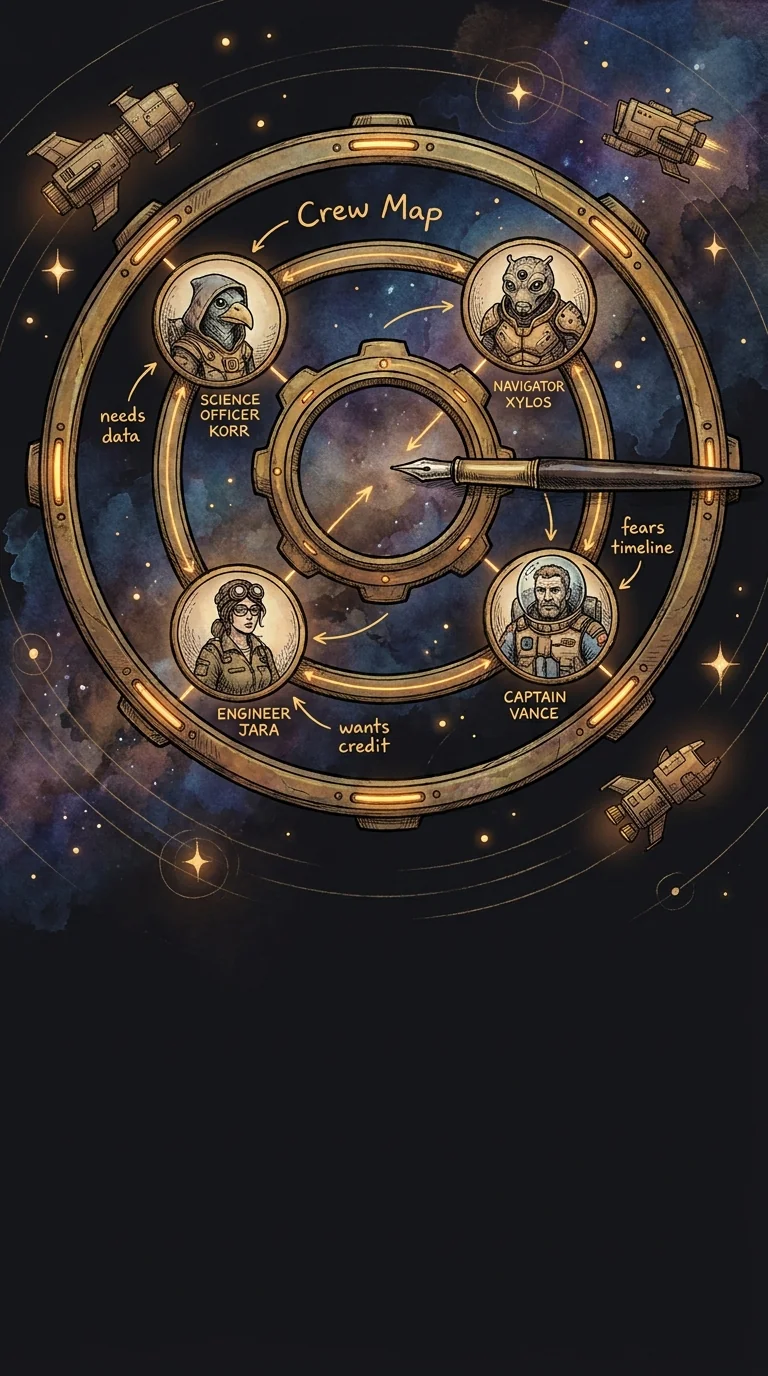
A Crew Map sorts the people around your decision into four roles: Champions who'll carry it, Skeptics who'll sharpen it, Gatekeepers who can kill it quietly, and Bystanders who'll matter more than you think. Know who's who before you open your mouth.
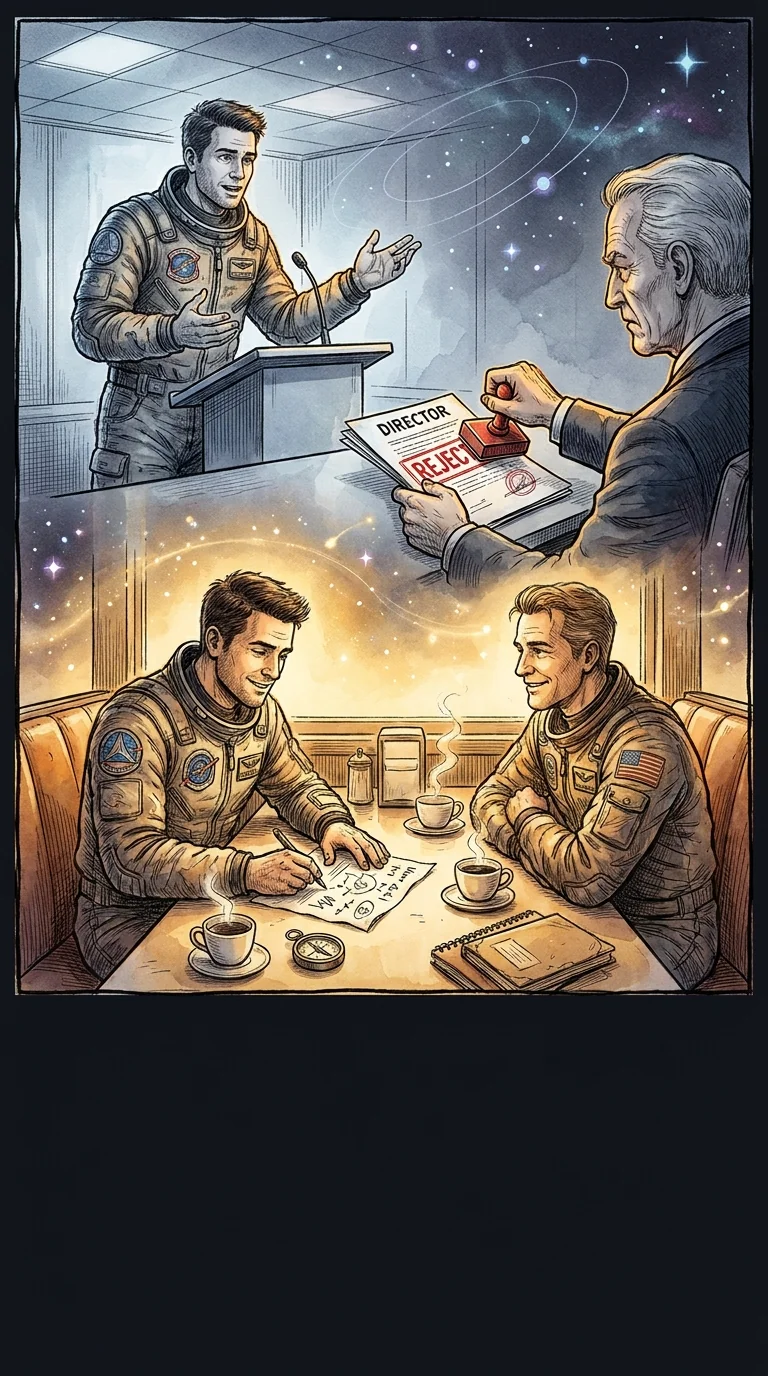
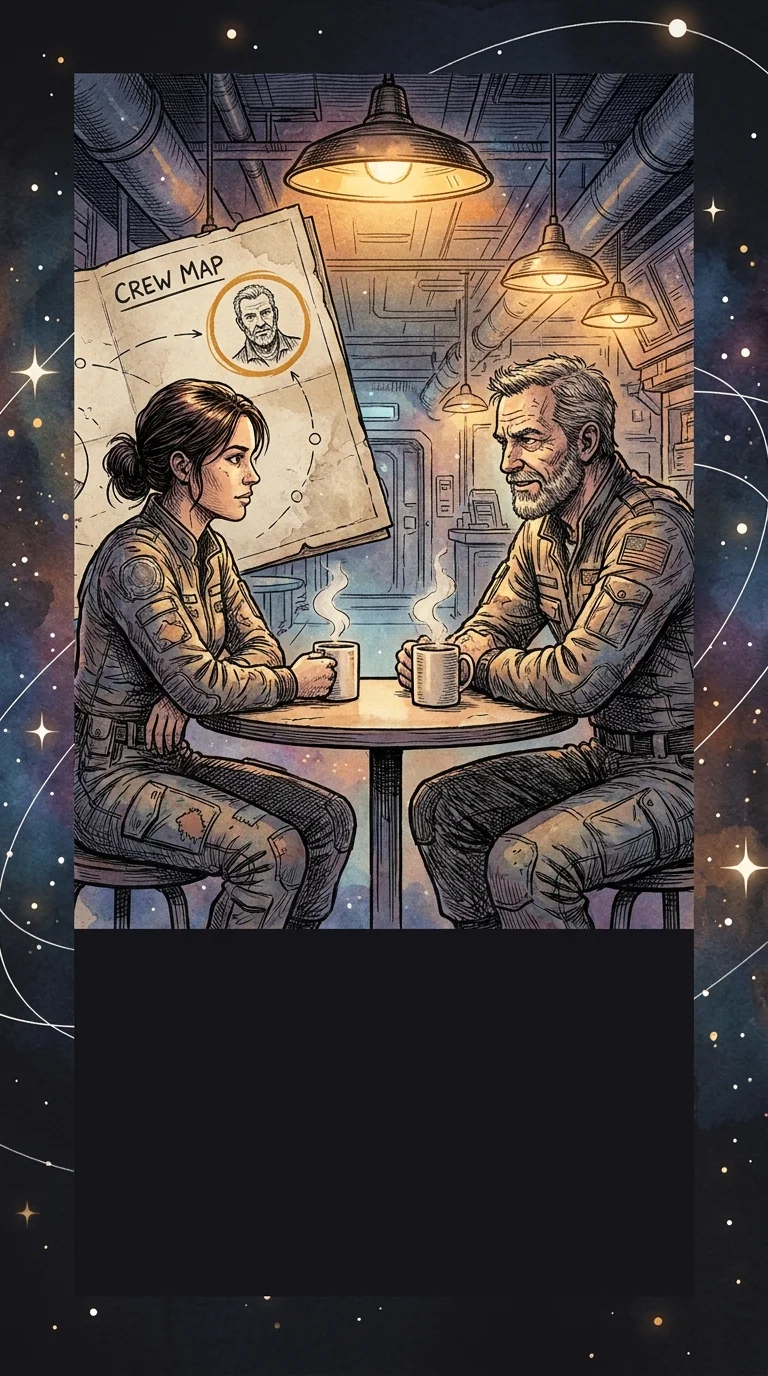
Marcus spent two weeks building a proposal to restructure his team's workflow. Brilliant stuff. He presented it cold to his director — who'd heard about it secondhand and already felt blindsided. Dead on arrival. The second time, Marcus mapped his crew first: bought coffee for the skeptic, briefed the gatekeeper early, and let his champion make the introduction. Same proposal. Different outcome.
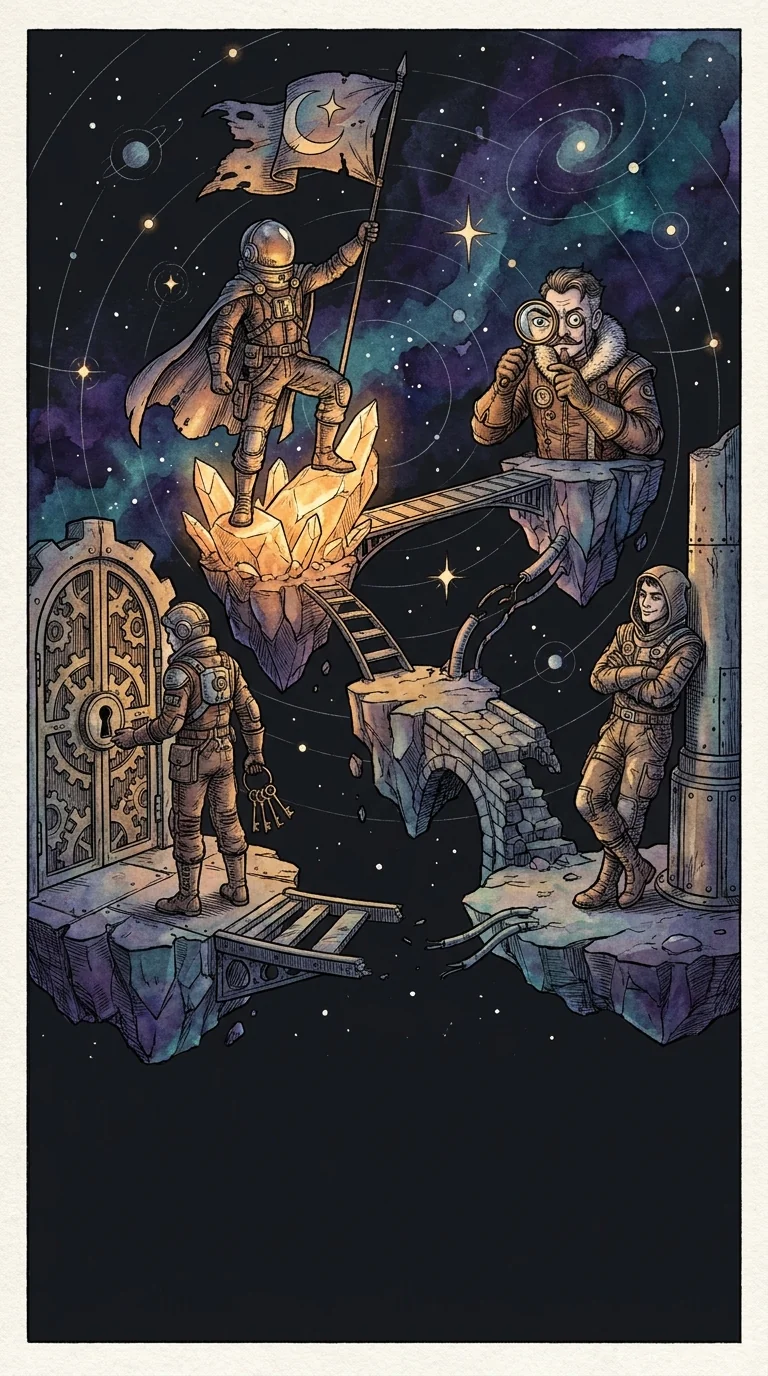
Your analysis is the engine. Your crew map is the flight plan that keeps you from slamming into a political asteroid. In Part 2, you'll practice building your own Crew Map for a real decision you're facing. See you there.
Part 2: The Crew Map — Practice
+10 XP on completion
Every decision you make lives or dies inside a web of people — their fears, their agendas, their willingness to show up for you. So maybe it's worth knowing who's actually in that web.
Most decision frameworks pretend you're alone in a room with a whiteboard. You're not. You're surrounded by people who can accelerate your plan or quietly let it starve.
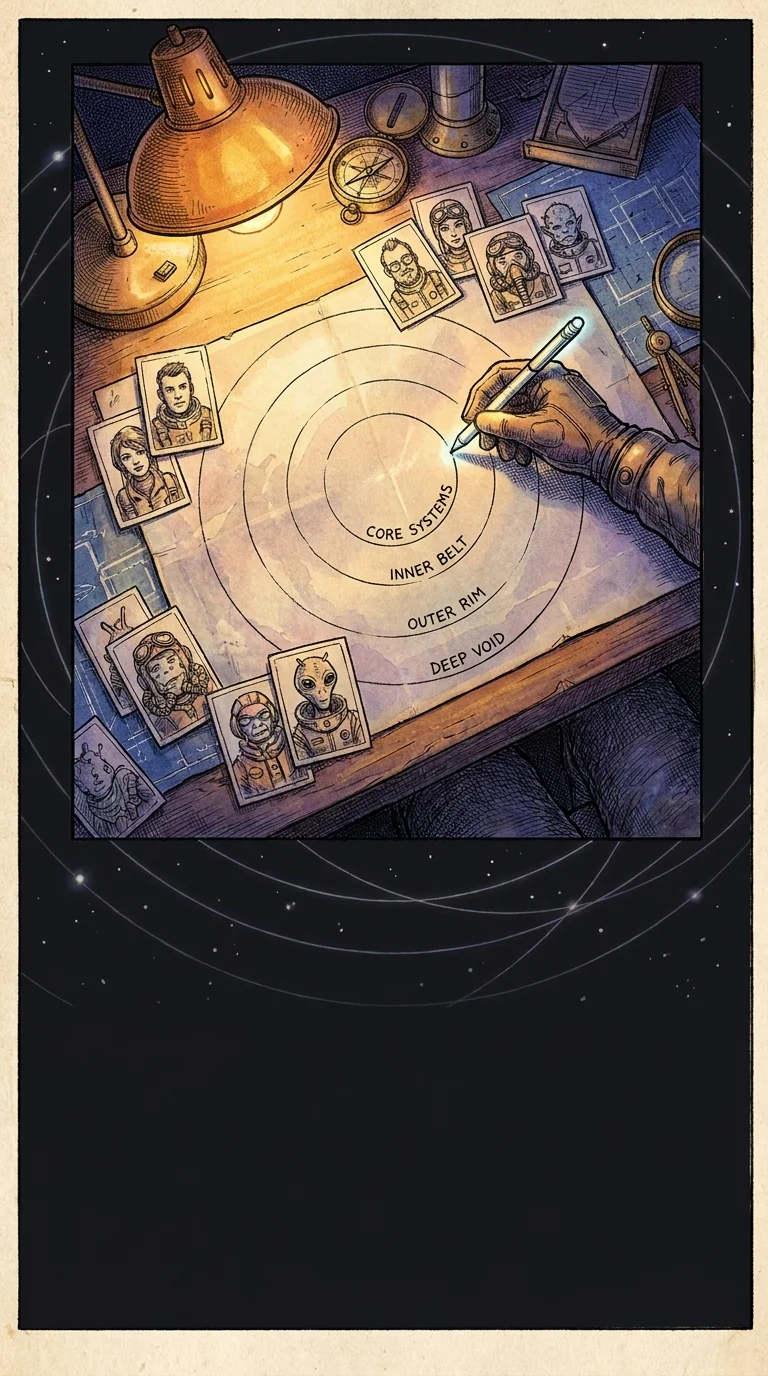
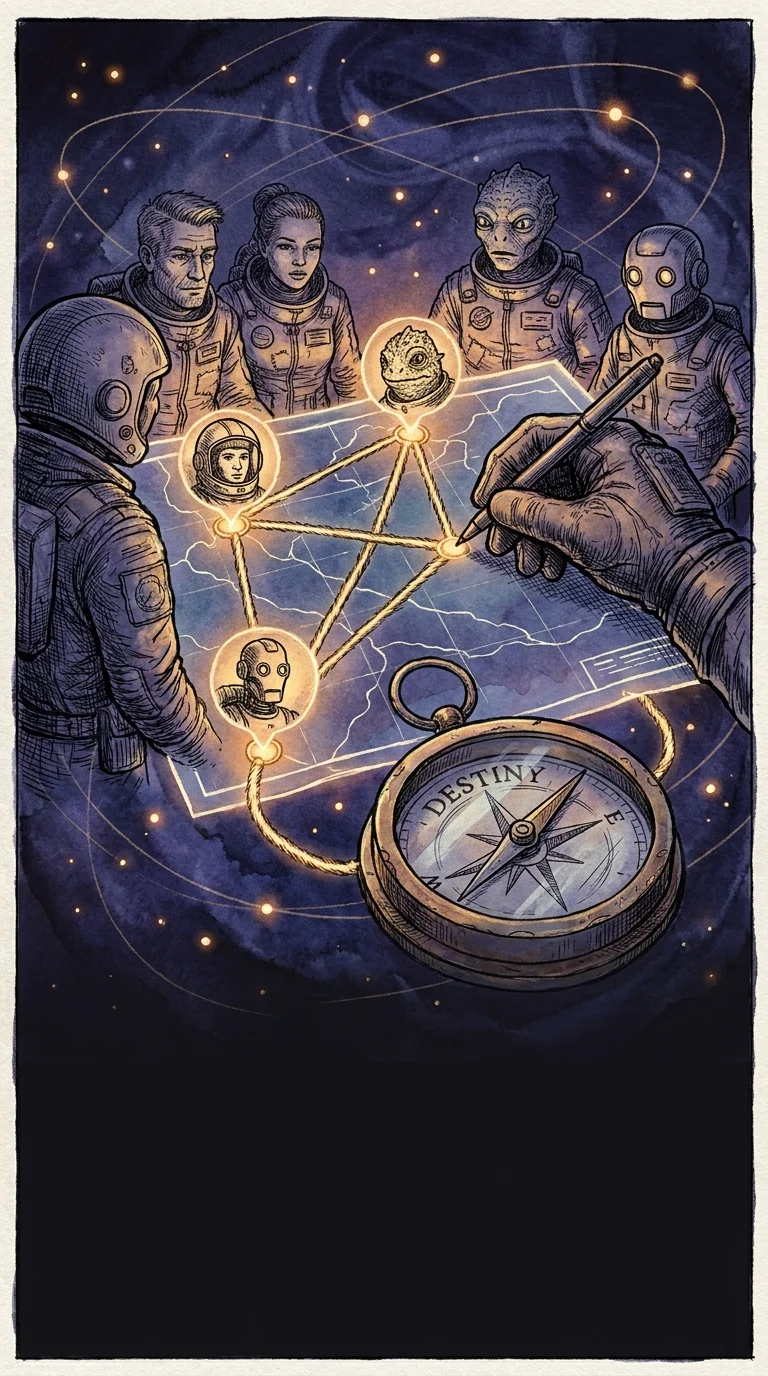
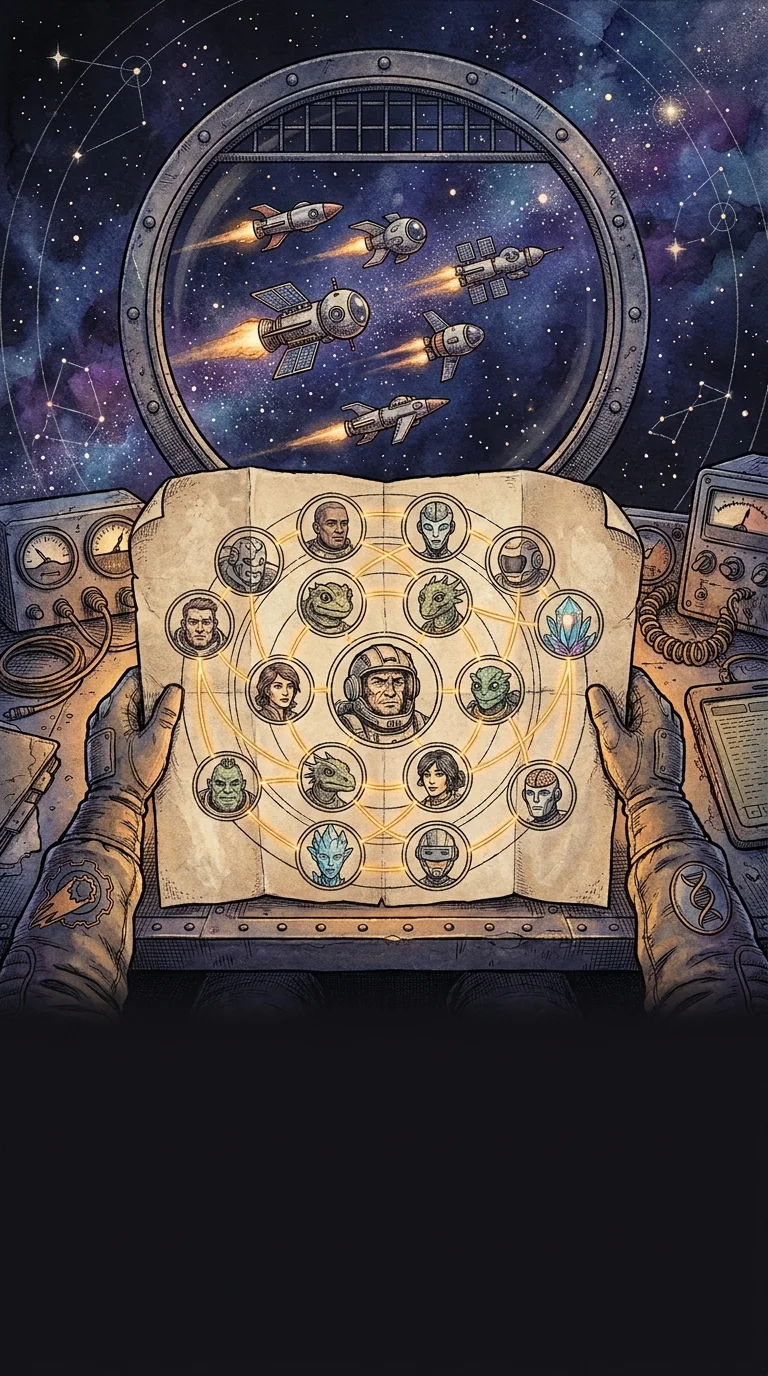
The technique is called the Crew Map. You draw four rings around your decision and place every person who touches it into the right one: Champions, Contributors, Bystanders, and Blockers.
Champions fight for your idea when you're not in the room. Contributors do the work. Bystanders could go either way — and Blockers have reasons you need to understand, not bulldoze. Write one action next to every name: what do they need from you to move one ring closer to center?
Lisa mapped her crew before proposing a new cargo routing system. She discovered her biggest Blocker wasn't against the idea — he just hadn't been asked for input. One coffee conversation moved him from Blocker to Champion in a week.
Draw your Crew Map for a decision you're facing right now. Four rings, real names, honest placements. Decisions don't just need good logic — they need people who'll carry them. Now you know who yours are.